Thursday, June 16, 2011

Southwest Chicken Roll-ups and Games


Today I have a recipe and some party details for you! I have been getting some questions about details of the Lady Bug party and will try to answer some of them on here for you.

Little princess turned three but her friends ages range from 1 - 7, so the activities that we chose were fun for everyone. 

*After all the guests had arrived we sat down and made Lady Bug Crowns. Prior to the Party I cut 2" x 22" strips of red poster board and various sizes of small black circles. We assisted the kids in decorating their strip with the circles then we stapled sparkly pipe cleaners on for antennas. 


*Our next activity was Lady Bug on a Leaf. Now that we had a room full of lady bugs, we needed a game for them! Prior to the party we cute out large leaf shapes from green construction paper. There was one leaf per child for the first round of this version of musical chairs. Playing fun music for kids, the kids moved around the room until the music stopped. Then they needed to race around to find a leaf to sit on! Since some kids were little and were unfamiliar with musical chairs, we did have a leaf for each to sit on just that first round. But after that, we removed a leaf each round just like regular musical chairs. Even the little ones enjoyed playing!


*Our next two activities were enjoyed outside. We created a Lady Bug Bean Bag Toss game out of card board and I sewed little black bean bags. Once again a bag all for all ages!

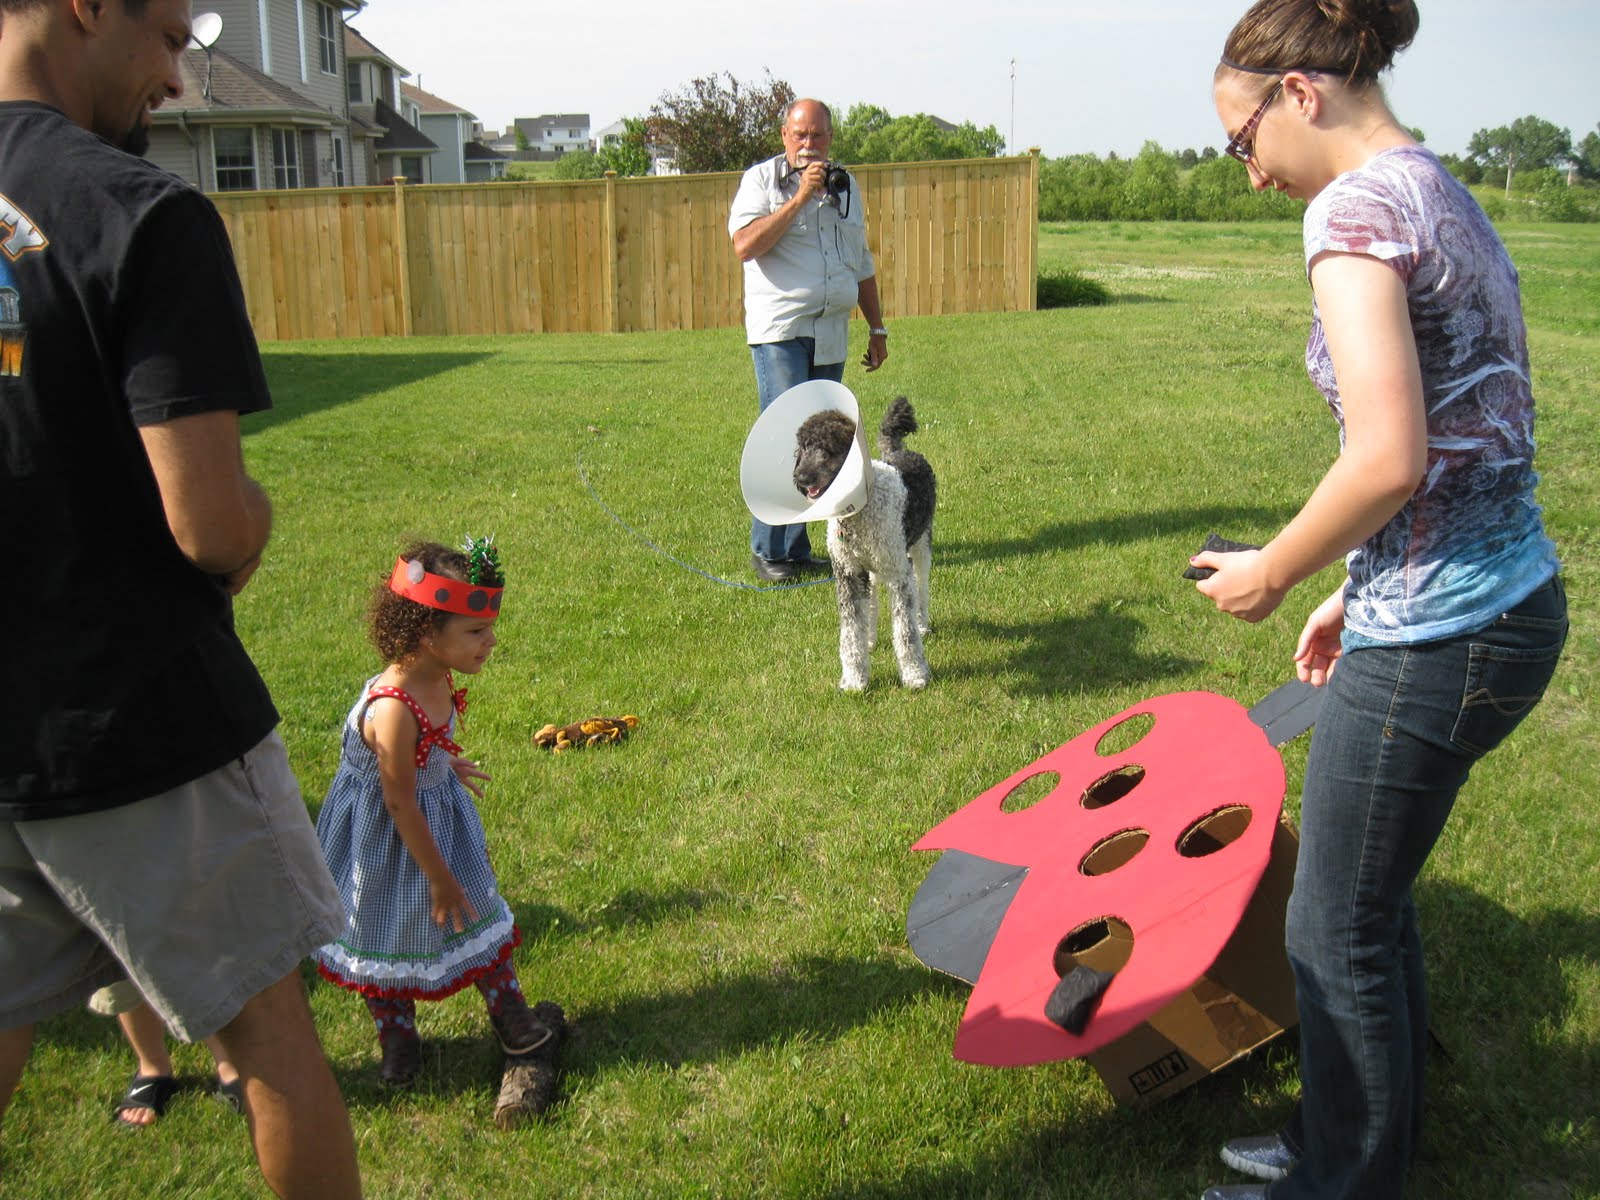


*The final activity before the food was served was an Obstacle Course. It was just a series of motions to get from one end of the yard to the other. Pretty basic but the kids enjoyed it. It got them moving and made them feel like they were really involved. Simple Fun!


All the kids had a blast and I am still hearing them talk about it! You don't have to have anything spectacular, kids just like to be kept busy!

 As far as decorations, my mom picked up some plates and napkins, invites, a balloon (the rest I just drew black dots on red balloons) and notepads at a party store near her. Ribbon, stickers and some other small things we got at Michaels. The rest of it, I made. There wasn't a lot around here with Lady bugs, but really all you need is something that is red with black dots!


Today's Recipe:


These of course are super easy and very flavorful! They aren't spicy, because we were mostly feeding children, but if I were serving them at an adult party, I would have spiced them up a bit with a can of green chiles or jalapenos. None the less, they are a yummy snack!

They are the ones on the bottom right hand side


Southwest Chicken Roll-Ups

Ingredients
2 cups cooked chicken breasts, diced
1 pkg (8oz) cream cheese, room temp
1 1/2 cups chunky salsa
1 pkg taco seasoning
1 cup cheddar cheese, shredded
2 green onions, chopped (greens and whites)
Handful of cilantro, chopped
Tortillas, I used spinach (the green ones) and jalapeno and cheddar (the orange ones)

Mix all the ingredients together except the tortillas. Spread a spoonful of the mixture on the tortilla, roll tightly and slice into 1 1/2" pieces. This made about 5 tortillas for me.


Warmly,

Mary

Wednesday, June 15, 2011

Strawberry Cheesecake with Golden Oreo Crust


These little tasty delights were an unexpected star at the Princess' Lady bug birthday party! Are you a cheesecake fan? I know some people that are absolutely in love with cheesecake. I enjoy it but it's not my go-to indulgence. Let me tell you though, these little baby's were good! 

I knew that I wanted a dessert in addition to the fabulous chocolate cake in case some people don't like chocolate, *gasp*, I know! But I do know people who can live without chocolate. But I wasn't going to do a simple, plain cheesecake.  I can never just let things be and leave them alone, I'm always trying to mix it up a little bit...I'm fun and complicated like that! Anyway, I wanted strawberry cheesecake, but wasn't sure how to go about it and I thought I'd start with some good old fashion strawberry preserves. Next time I'll try strawberry cream cheese too. Like I said, these were a hit, but I honestly think the winning ingredient of these little babies was the crust...you can never ever ever go wrong with baked crushed Oreos and butter. Never!

This is a super easy cheesecake recipe and everybody loved them. I had one little hang up...how do you keep the tops from falling? If you have advice for me, please do share.


Strawberry Cheesecake with Golden Oreo Crust

Ingredients
For the cheesecake filling:
8 oz. cream cheese, at room temperature
6 oz. sour cream, at room temperature
1/2 cup sugar
1 large eggs, at room temperature
1 tsp. vanilla extract
1/3 cup strawberry  preserves

For the Golden Oreo Crust:
18 Golden Oreo Cookies
3 Tbl butter, melted

Preheat oven to 350. In a medium mixing bowl, with an electric mixer, cream the cream cheese and sour cream until smooth. Add the rest of the ingredients and mix until well incorporated. Set aside. 

If you have a food processor or a really good blender, add the cookies and pulse until you get tiny crumbs. This works beautifully, you get perfect little crumbs and the cookie filling gets incorporated with the cookie pieces. And there is no mess! If not, then just crush them anyway you can. Then add melted butter and mix well. 

I made 36 mini cheesecake bites, you could possibly make about 12 muffin size cheesecakes. I don't know. Anyway, line the mini muffin tins and measure 2 tsp of crust into each well (with paper cupcake liners, it's just easier to remove them from the tin). Press down lightly. Bake for 7 minutes. Spoon 1 Tbl of cheesecake filling over the crust. Bake for about 30 minutes, but keep an eye on it. If after 30 minutes you don't think it's done, turn the oven off and let the cheesecakes stay in the oven until you think they are done. 

I topped mine with a strawberry. Chill and enjoy (the cheesecake that is!)!


Warmly,
Mary

Monday, June 13, 2011

Perfect Chicken Salad and a Giveaway!


I love chicken salad sandwiches. I don't usually make them, because I have never had a recipe for a good one until now!

We are not mayo fans so I'm using nonfat plain yogurt. I don't know why I didn't think if that before, I use it in place of mayo and sour cream all the time. And it makes for the best base for this recipe!

I will be making this all summer now. You don't need little lady bugs and sir bugs for an excuse to eat this healthy and tasty salad/sandwich!


The cute little bites on the bottom left


Perfect Chicken Salad Cups

Ingredients
2 c chicken breast, cooked and diced
2 celery stalks, chopped
1/2 c walnuts, chopped
1 c red grapes, cut in half
2 green onions, sliced (the whole thing the white and the green part)
1/3 c mayonnaise
1/2 c plain nonfat yogurt
2 tsp dijon mustard
45 phyllo cups (optional)

Make sure all your ingredients are cut, diced or chopped. In small mixing bowl add the yogurt, mayo and mustard. In a large mixing bowl add everything else except the phyllo cups. Now stir in the dressing mixture to the chicken mixture and mix until well combined. Now serve! Yes, it is that easy!!
I put a about a tablespoon in each phyllo cup and had a sandwich today with the left overs. You can serve yours on a croissant, which I would have done had I not been feeding tiny mouths! Regular bread or crackers would be perfect too! Shoot, if you want, eat it with a spoon!


You will not regret this healthy lunch!

GIVEAWAY
 

Today I am also doing a giveaway! Because it was a princess's birthday and I think these are the cutest little hair bows ever! I'm going to give one set away! Even if you don't have a little ladybug in your home to give these too, I'm sure you know a little lady bug who would love to have these in her hair!

All you have to do it "Follow" my blog and leave a comment...any friendly comment is fine and will qualify you for an entry! You have a until this Friday June 17 at 12:00pm cst to enter. At which time the winner will be announced! YAY!


Warmly, 
Mary

Sunday, June 12, 2011

A sneak Peek of Party for a Lady!


Hello Blog friends! Last week my Princess turned 3! And boy oh boy is she three! She is doing a wonderful job of fulfilling the prayers that my parents asked that my daughter would be just like me! Oh, had I only known then what a blessing independent perfectionist little girls can be! She is going to Rock this world!

Anyway, it was very much my pleasure to plan a Lady Bug party for my little lady! If you don't know me, I'm the party girl! I love to plan the food (oh course), the decorations and activities. And I'm good and it, so good in-fact that I actually think that Superman should pay me for it!

It will probably take a week for me to get all the details and recipes to you so I thought that I could send you out a Sneak Peek! That's because I love you and I am so thrilled to have you checking out my little Princess and Warrior blog! 

Chocolate Chip Chocolate Cupcakes with Amazing Strawberry Frosting

The cutest little Ladybugs on top, I LOVE the ladybugs!
 
Oh, and did I mention the ladybugs are cookie dough truffles.

Birthday girl and her newly pierced ears.


What princess birthday would be complete without a princess doll!


I made bows for party favors the other little girls
Princess wearing modeling a bow

An appearance by spiderman

Party Food - Cucumber sandwiches, Southwest Chicken Roll-ups, Chicken Salad Cups, Pizza Bites, Sausage Bites

The Desserts - Chocolate Chip Chocolate cupcakes with Strawberry Cream Cheese Frosting, Strawberry Cheesecake with Golden Oreo crust, Mini Chocoloate Chip Cupcakes with Peanut Butter Cream Cheese filling topped with Chocolate Ganache


Recipes coming soon! Enjoy! :)

Warmly,
Mary

Saturday, June 11, 2011

Our Saturday Favorite


May is pretty much my favorite month of the year. Usually the weather is perfect, I know several fabulous people with May birthdays (to include my own), school gets out, the pool opens, Mother's Day, and our local Farmer's Market opens the first Saturday in May! Most Saturdays from May through September we wake up bright and early to enjoy the sights, sounds, smells and tastes of the wonderful outdoor market-place. While there, the kids and I eat "around the world" as we like to call it! They have sweet treats and savory selections to choose from. We also enjoy looking at homemade crafts, my weakness being the aprons and hair-bows! Then we fill our arms with an array of fresh fruits and veggies to bring home. We often rush home afterwards to slice those juicy ripe tomatoes to serve up on the fresh baked bread (also from the Farmers Market) for delicious BLT's.

This last visit to the Farmer's Market I picked up some beautiful Roma tomatoes, red onion, garlic and cilantro. I'll give you one guess as to what I was looking forward to making...Salsa! I use it on everything! I scoop it on omelets and scrambled eggs, dip chips in it, serve on tacos, burgers, salmon, chicken, mix it with avocado for amazing fresh guacamole...the possibilities are endless. This is one item we KEEP in the fridge pretty much at all times. Sometimes I make it chunky although my friends from Mexico insist that is NOT salsa. Sometimes I make it more smooth, just like the authentic stuff!


My kids are like me...they love the smell of the fresh herbs!


More authentic

chunky


Gimme Some Fresh Salsa

Ingredients
5 - 6 Roma tomatoes
1/4 - 1/2 red onion
3 - 5  garlic cloves
Handful cilantro
1 - 2 whole jalepenos

First I boil about a quart of water and throw the tomatoes in the water for about 30 seconds to a minute. Remove them and set on a cutting board to cool a bit.
Roughly chop onion and throw into the food processor. Peel the skins off the garlic cloves and cut into quarters add to the onions. Pull the cilantro leaves off the stems and toss those in there too. Take the jalepeno, cut the stem off and cut the pepper a couple of times and add it in there too. Put the lid on the food processor and pulse it a few times. Now peel the skins off the tomatoes (that's why we added them to the boiling water, makes peeling a tomato way easier). For chunky Salsa,  just dice the tomatoes and add the other ingredients to it. For the more authentic style salsa, cut them in half and I usually give them a gentle squeeze over the sink, but you don't have too.  Now add them to the happiness that's going on in the food processor. Pulse it until it's the consistency that you desire. You can add salt...most people do. We don't cook with any salt but I recognize that is not the norm. A lot of my food posts won't be the hard-core healthy food we eat on an everyday basis but I'll throw some in there here and there. This is one of those healthier recipes.  Anyway, add salt if you must. Sometimes I add some lime juice too, but I didn't have any on hand.


It makes everything even better! Enjoy!

Warmly,
Mary

Friday, June 10, 2011

Good Morning Sunshine Blueberry Pancakes!


Good Morning Sunshine! Hi my name is Mary and I am a morning person! Yes, one of those annoying, wake up with a smile and wants to have a conversation with you morning people! I get excited with the new day and what it will bring! What’s not to look forward too? There is a new adventure behind every sunrise and I can’t wait to see what it is and how much I can get done in one day! Yes, annoying…so, I’ve heard! But I personally love it! I can be dressed and out of the door ready to explore the world before anything is open. So, I have to slow down and make breakfast instead.

If you have read my post about my amazing Very Merry Blueberry Muffins, then you know my obsession with muffins. But it’s not just that I love the muffins, I love blueberries too! Very much! I also love to cooking, if you haven’t noticed. So, I am more than happy to fix a hot breakfast for my family any day of the week! I mean, my kids wake up at the crack of dawn, so what else are we going to do before the rest of the world wakes up? Most times, my kids will put their aprons on too and we get to cooking together!

If the pictures don’t make you want to run out and grab some blueberries today then there is seriously something wrong with you!

These pancakes are perfectly fluffy and sweet! Thank you good Lord for creating the magnificent blueberry!


Perfect Blueberry Pancakes
Ingredients
1 ½ c flour
1 Tbl sugar
1 tsp baking powder
½ tsp baking soda
1 c milk
1 egg
1 Tbl lemon juice
1 Tbl butter, melted and cooled to room temp
1 tsp vanilla
1 c fresh blueberries

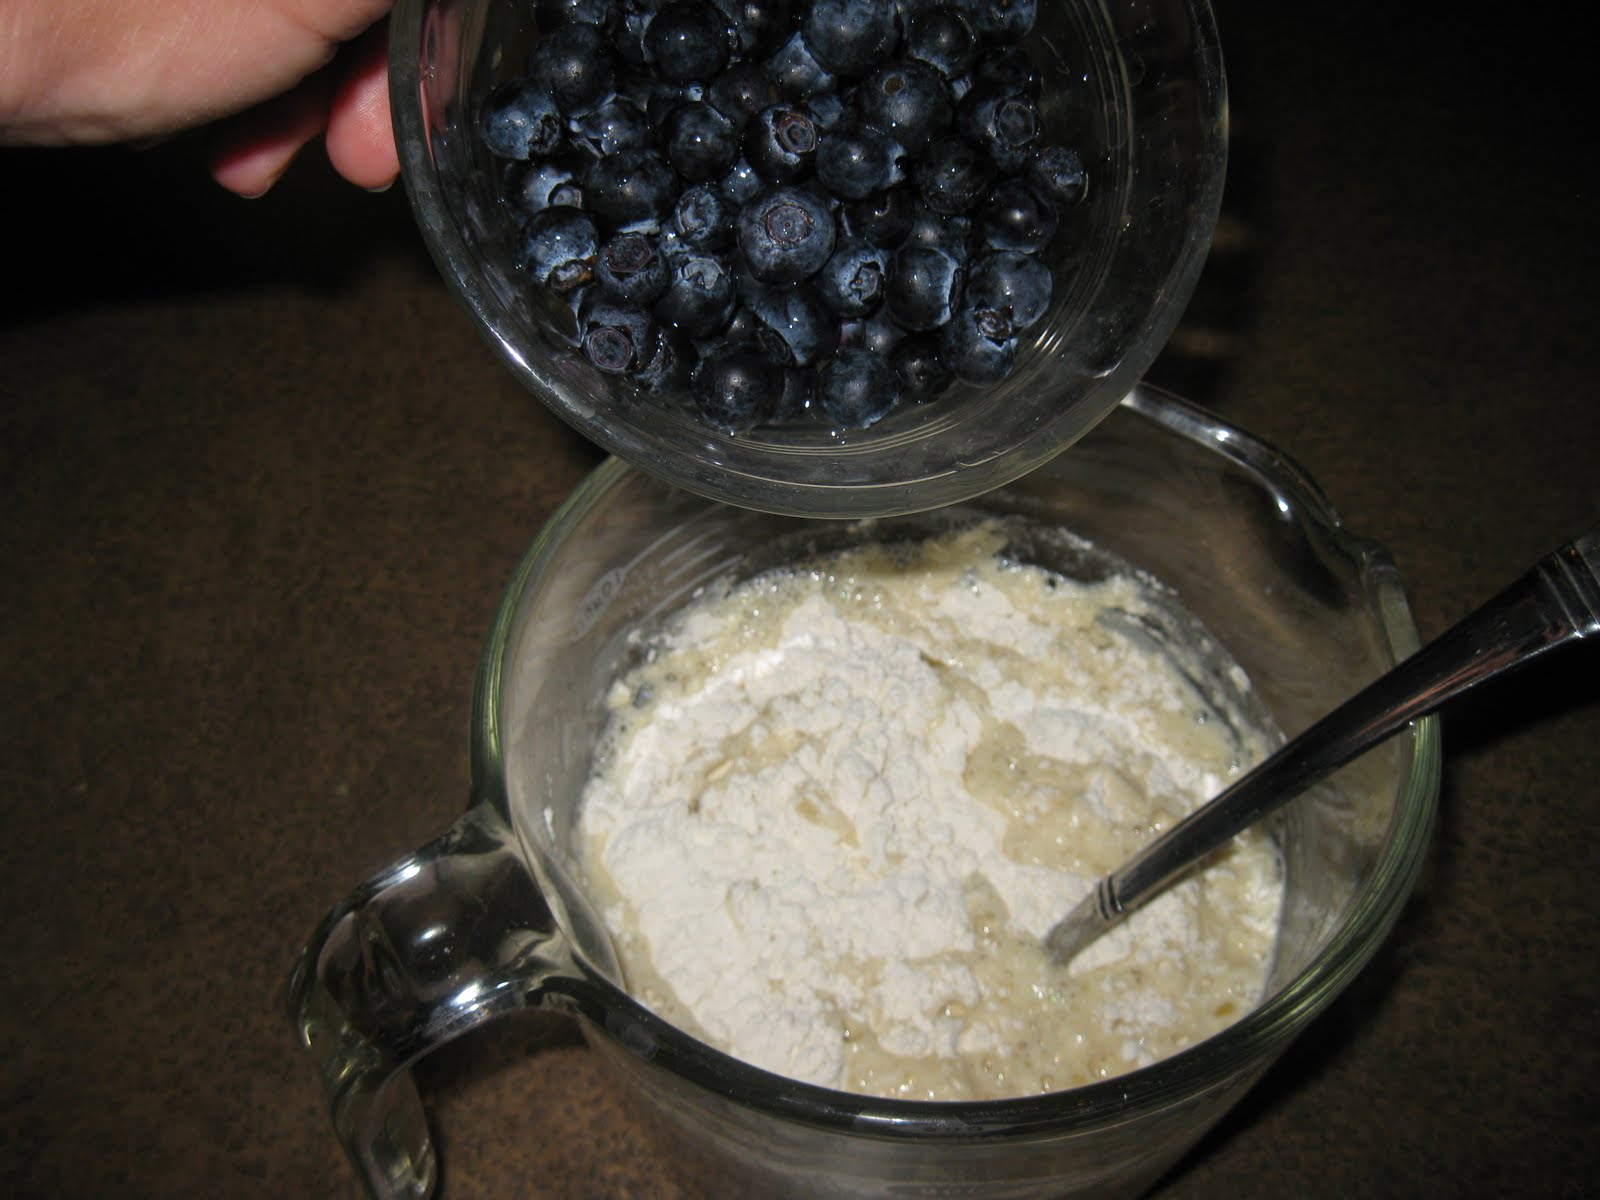
Melt the butter in the microwave for about 15 seconds then let it sit. In a small mixing bowl combine the milk and lemon juice and let it hang out. In a second mixing bowl combine the first 4 ingredients. Now add the egg, butter and vanilla to the egg mixture, mix things up very very well. Now add the milk mixture too the dry ingredients and just give it a couple stirs. Fold in the fresh blueberries. Heat the skillet on medium and add about a tsp of oil or non-stick spray. I use a small cookie scoop to measure the pancake batter and ladle onto the hot skillet. Cook until golden and then flip and do the same on the other side. I usually have to turn the skillet down after the second or third batch or it gets too hot.

Serve up with butter and some real maple syrup and be happy for a new morning!


Happy Day! Enjoy!

Warmly, 
Mary

Wednesday, June 8, 2011

Holy Cow Good Beans

Have you ever smelled bacon and sweet molasses cooking. Oh heaven! Just wait!


Even if you are not much of a cook in the kitchen, you can make this! I promise! My momma taught me how to cook and so I thought everyone knew how, until I was an adult and learned that many of my friends grew up on take-out and hamburger helper. The one time I made food from a box, warrior boy was 3 and he told me that it looked like poo, smelled like poo, tastes like poo and he didn't want to eat poo. Seriously! And it took just as long to make it as if I had made dinner from scratch, so I decided to stick with what I know.

What does this have to do with beans? Absolutely nothing! But the point is, I am so thankful that my busy mom took the time to teach each of my siblings (I have 3 brothers) and myself to cook. In fact my brothers cook much like I do, creatively without specific directions from a  recipe. I hope to have them each guest cook with me on here. But this brother lives about 600 miles away so I'll have to cook this one on my own. The recipe comes from my older brother. These are the best beans I have ever had in my entire life! They are now a staple at every BBQ we host and they get rave reviews every time. These beans are hearty enough to eat as a main dish. Eric has also mastered the art of making sushi (yum-o), bacon fried rice, he grills meat and veggies like it's nobody's business and has a melon salsa that leaves you with an empty tortilla chip bag every time!

Plus these are so easy, how can you not make them homemade?                           

Oh how I wish you could smell them cooking right now!

My big brother holding the princess almost 3 years ago!

Bacon and onions getting happy.

As is bacon wasn't enough...more meat please!

No picture can do these justice, so just give them a try.


Eric’s Perfect Beans


Ingredients

½ onion
5 thick sliced bacon (uncooked)
1/2 lb ground beef
2 Tbl mustard
1 c BBQ sauce
2 tsp liquid smoke
1Tbl molasses or brown sugar (we prefer molasses)
2 cans baked beans


Chop the onion and cut the bacon slices into pieces and put them into a medium saucepan on medium heat. Cook for about 5 minutes then add the ground beef, break up the meat as you cook it. Cook for another 5ish minutes, until the beef is pretty much browned. Add all of the remaining ingredients and set the stove to low and simmer on the stove for 1 hr, let all the flavors marry and get happy! It's that simple and oh so good! These will be the tastiest beans you have ever eaten in your whole life!

Isn't he handsome!


Thanks big brother for letting me share one of your recipes! Come visit soon! Love you!
Warmly, 
Mary